Sourdough
A low-effort, high-reward guide to baking sourdough bread at home.
· 3 min read
Okay, this is my sourdough recipe. It isn’t as precise as others because I don’t spend all my time babying each loaf. Luckily, sourdough mostly makes itself, and it’s pretty hard to completely ruin bread.
Starter #
There are hundreds of guides online on how to care for your starter, so I won’t go into massive detail here.
I keep my starter in the fridge. Unless you’re baking more than once a day, you should probably do the same. I feed it roughly once a week, but it can survive for weeks without attention. If I don’t feel like baking for a while, I make a really thick starter. A thicker starter takes longer to grow and needs less frequent feeding.
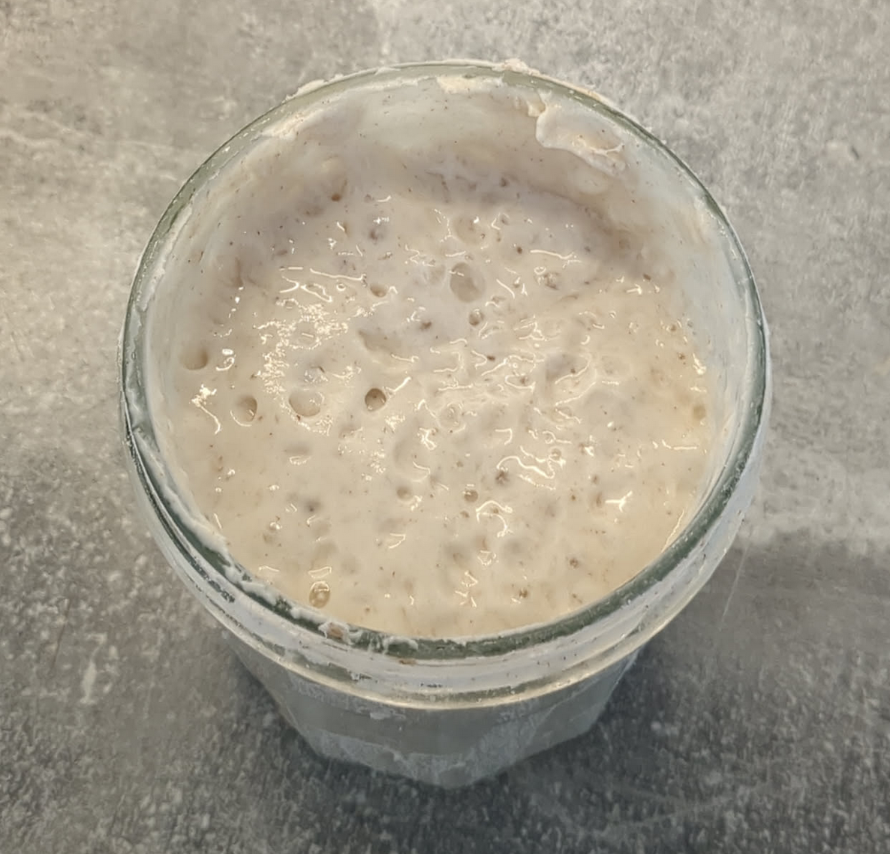
Feeding #
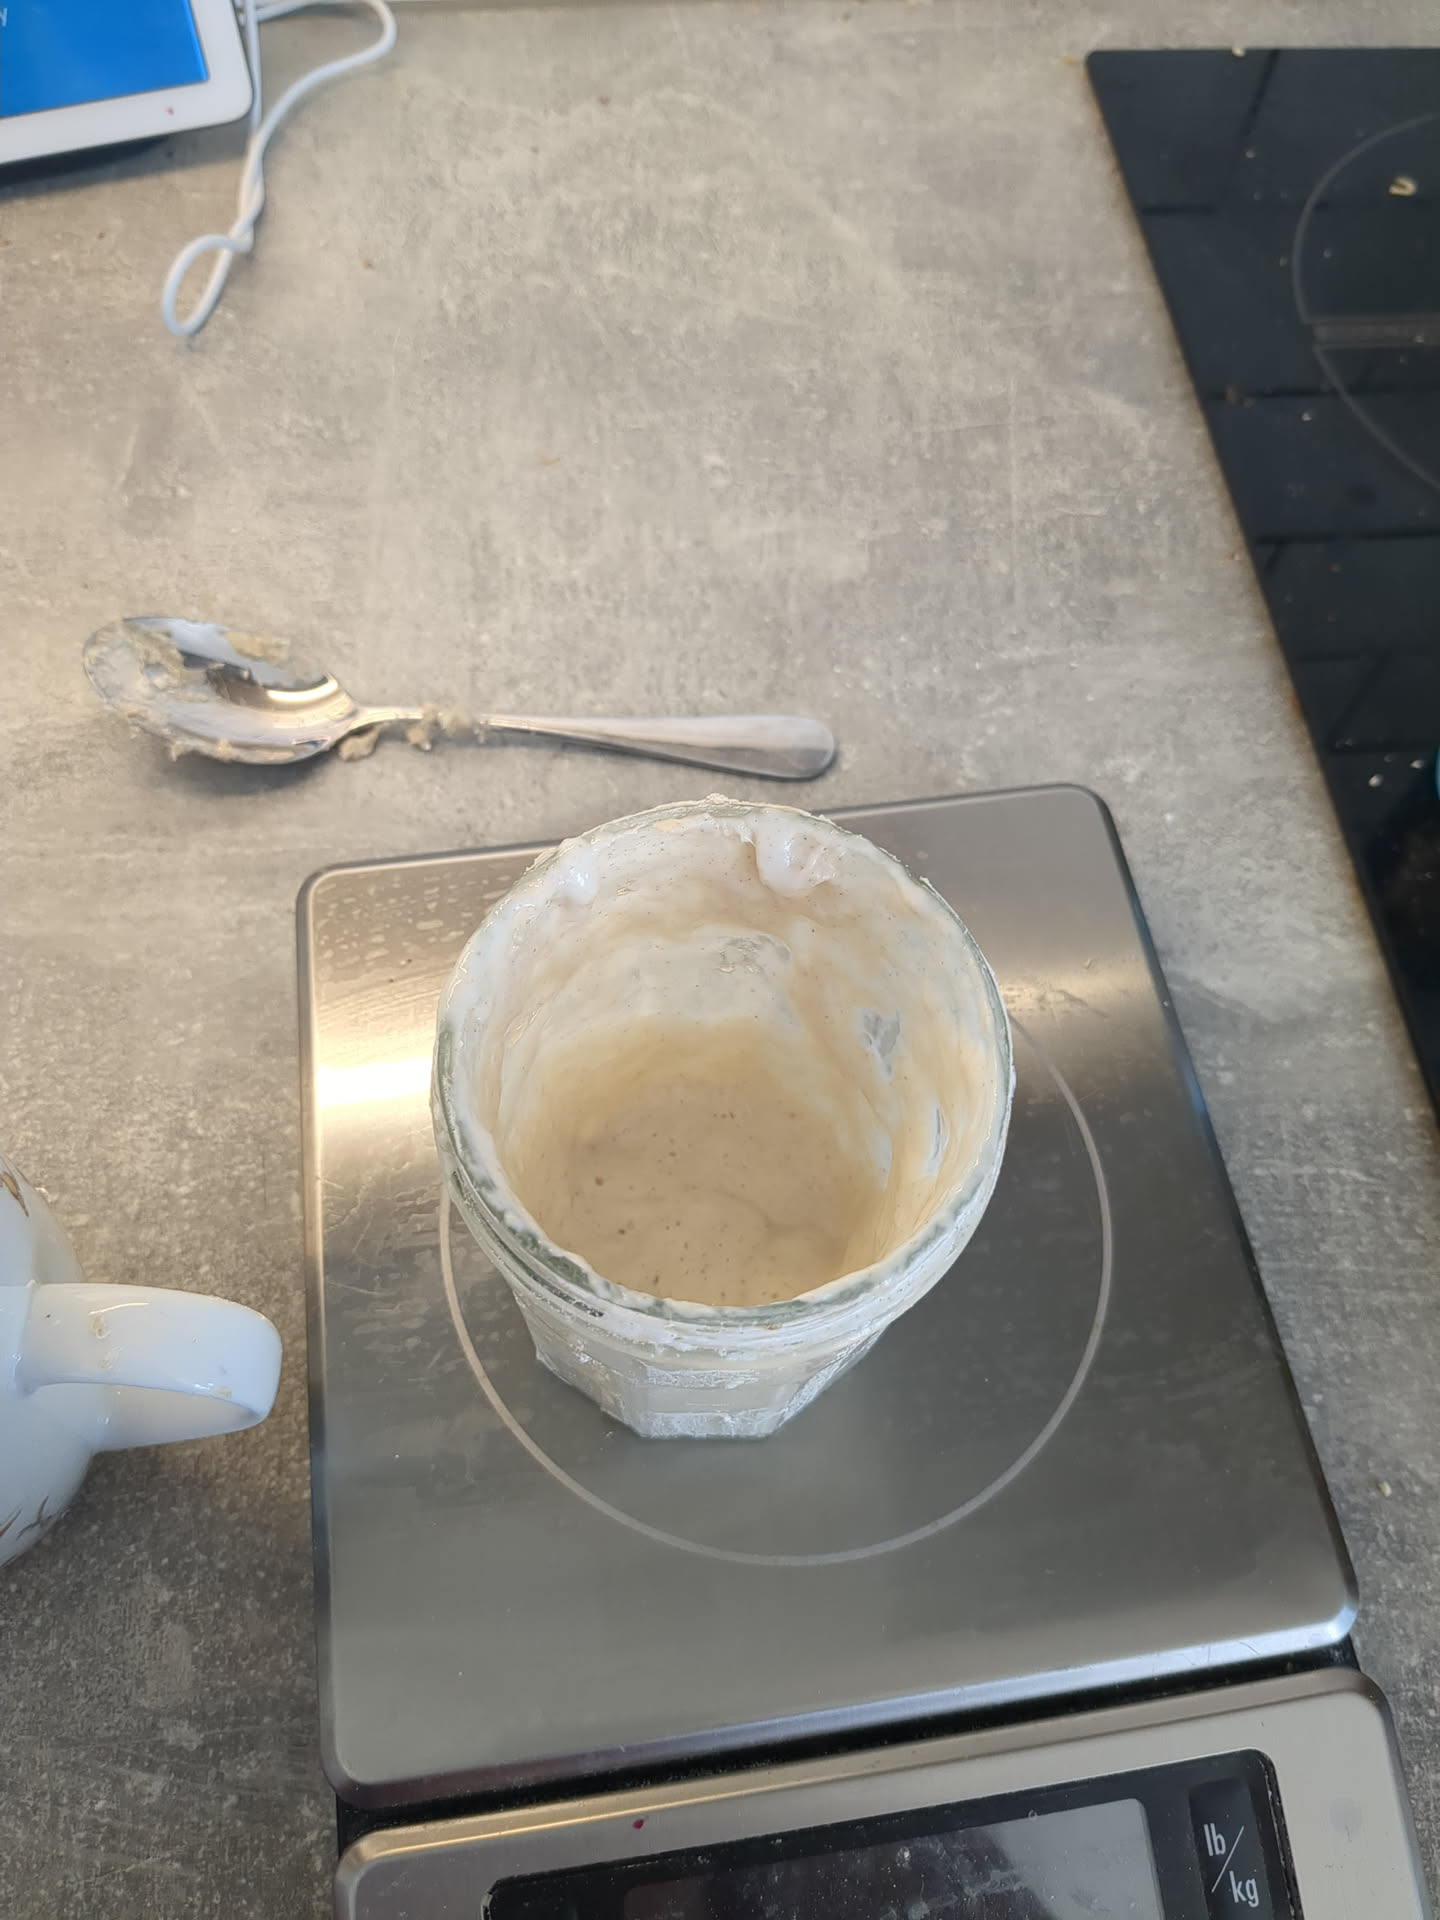
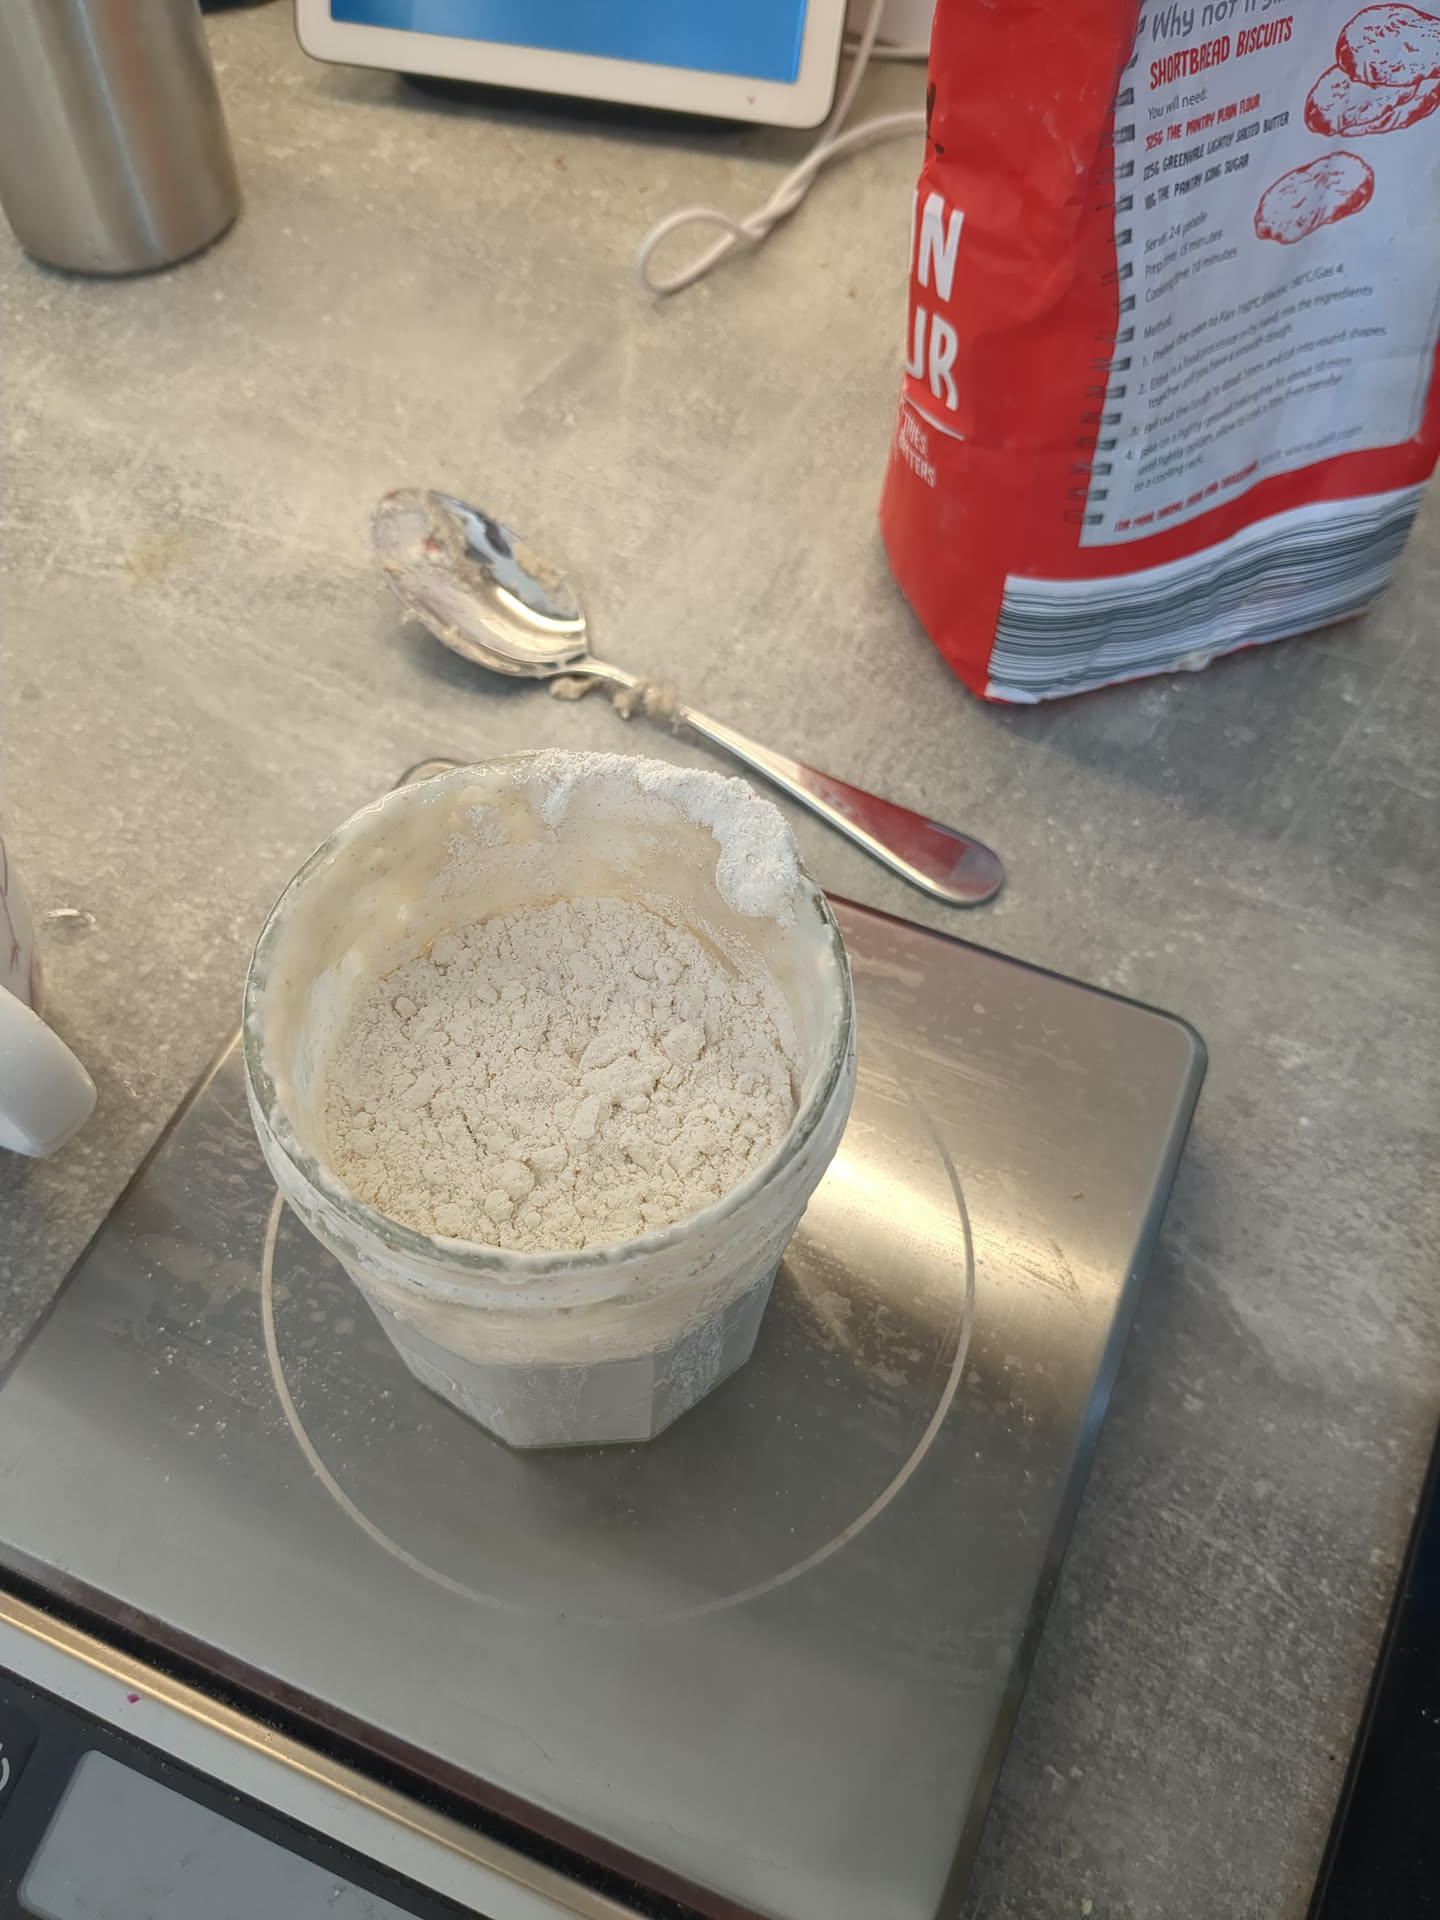
Scoop out most of the jar, leaving just a bit behind. Then fill it with a good amount of flour. Add water until it becomes a thick paste. Stir it up and put it back in the fridge. That’s it—super simple.
Equipment #
- Mixing bowl and tea towel
- Dutch oven, or use the steam method
- Banneton proofing basket (or a bowl lined with a tea towel)
- Bread lame or a sharp knife
Ingredients #
Aim for the baker’s percentages below. I’m usually ±50g off, and it still turns out fine.
- 600g strong white flour
- 400g lukewarm water (66%)
- ~100g sourdough starter (20%)
- 10g salt (2%)
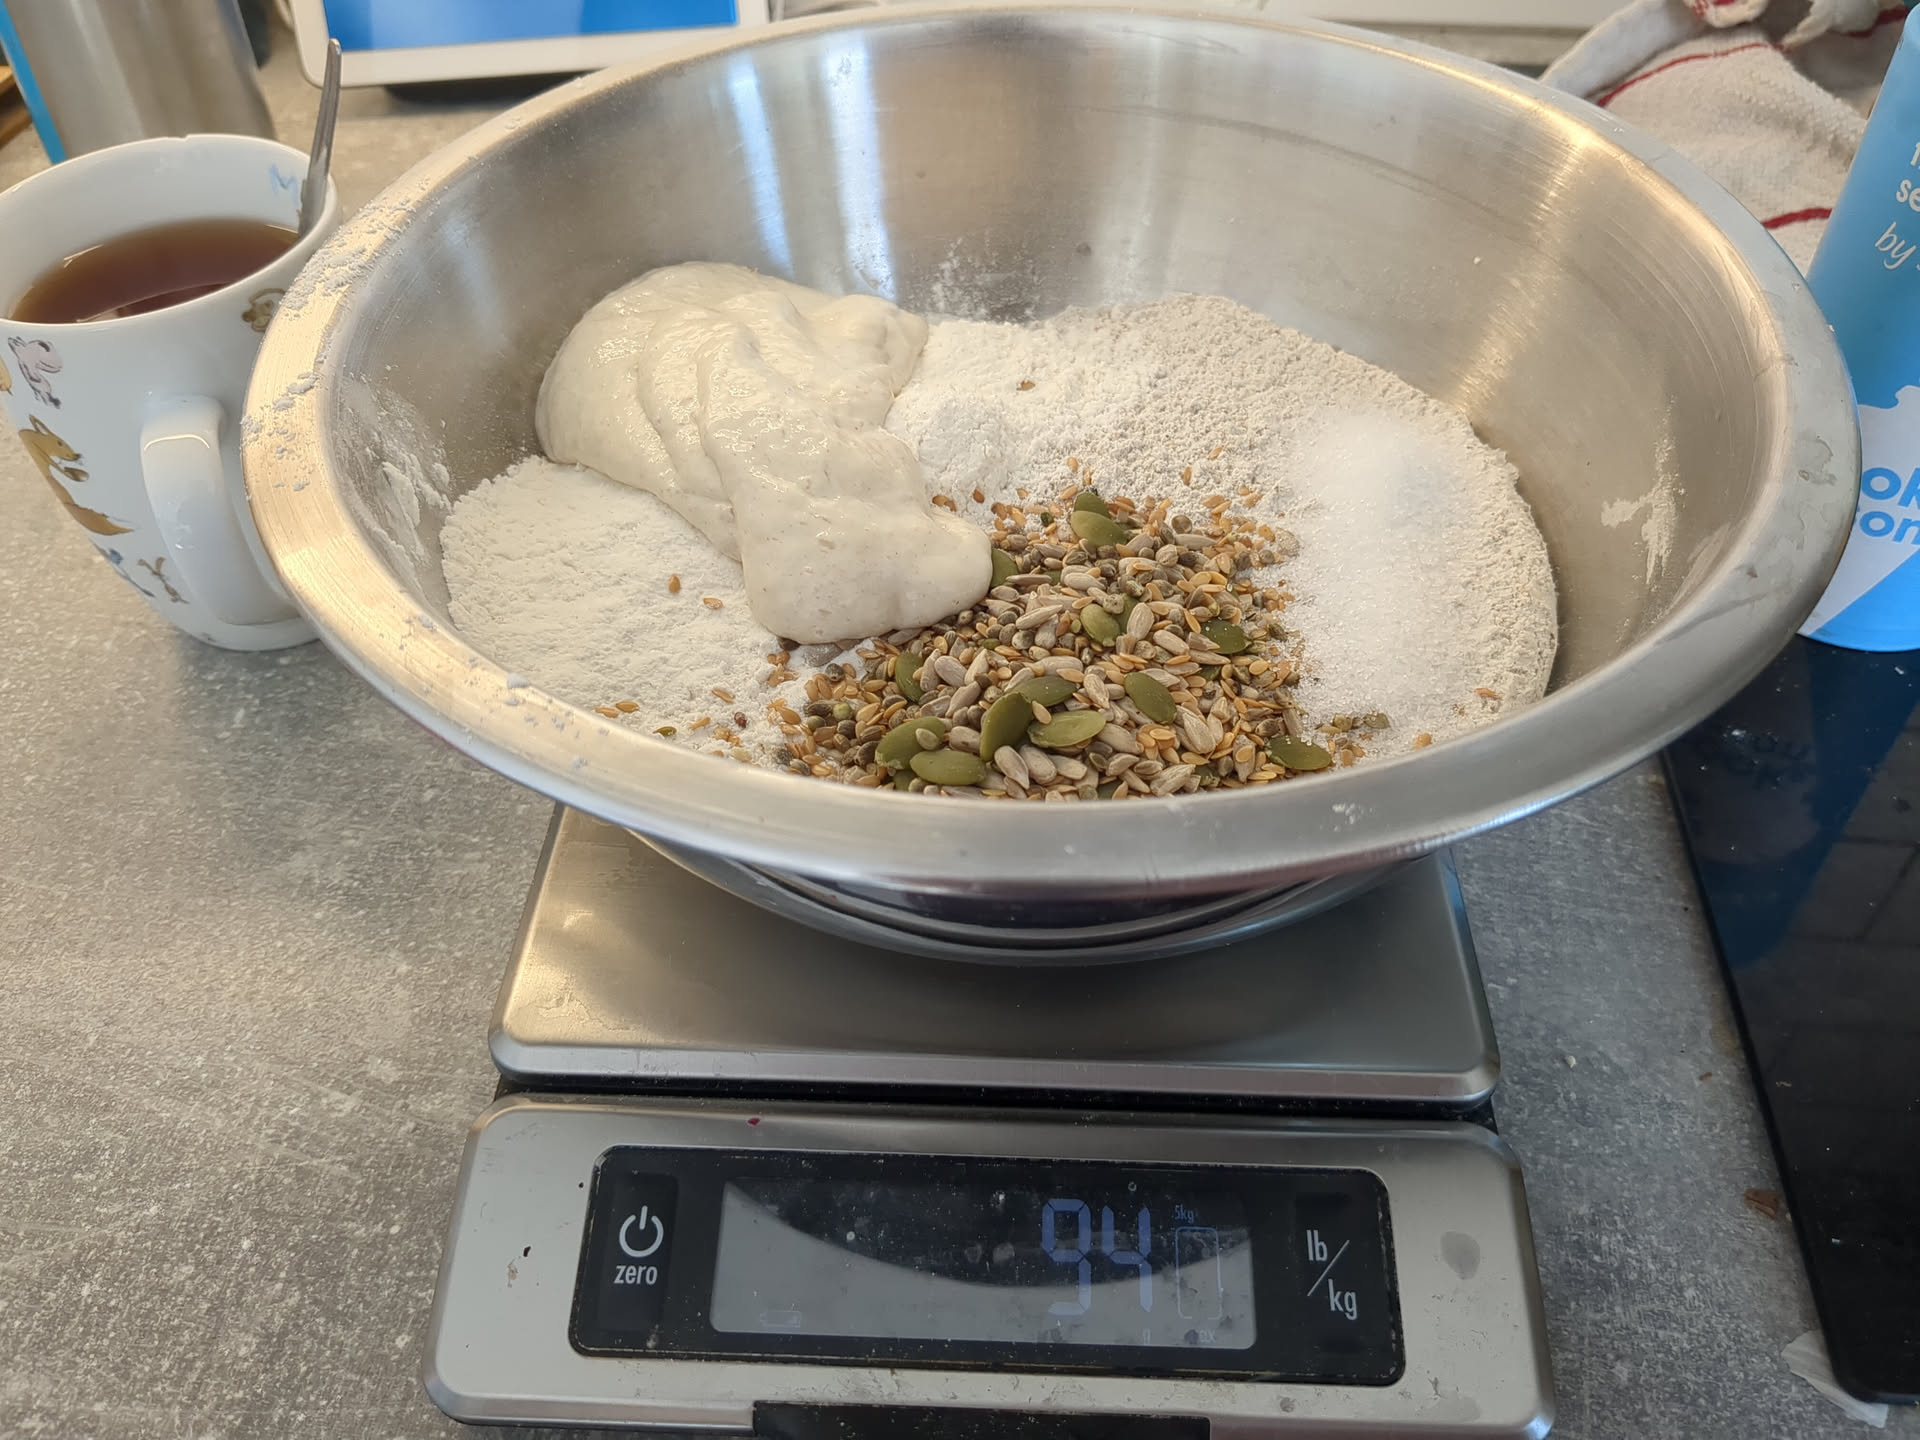
- Optional: 50g of seeds or nuts
Have some rice flour, semolina, or any flour ready for dusting the banneton.
Want a darker, earthier bread? Use 400g white flour and 200g rye flour instead.
Instructions #
Prep #
Some recipes suggest making a levain by mixing flour, water, and starter and letting it sit for 30 minutes. I don’t bother. I go straight from fridge to bowl. If your starter’s a bit sluggish, proofing might take longer—but it’ll still work.
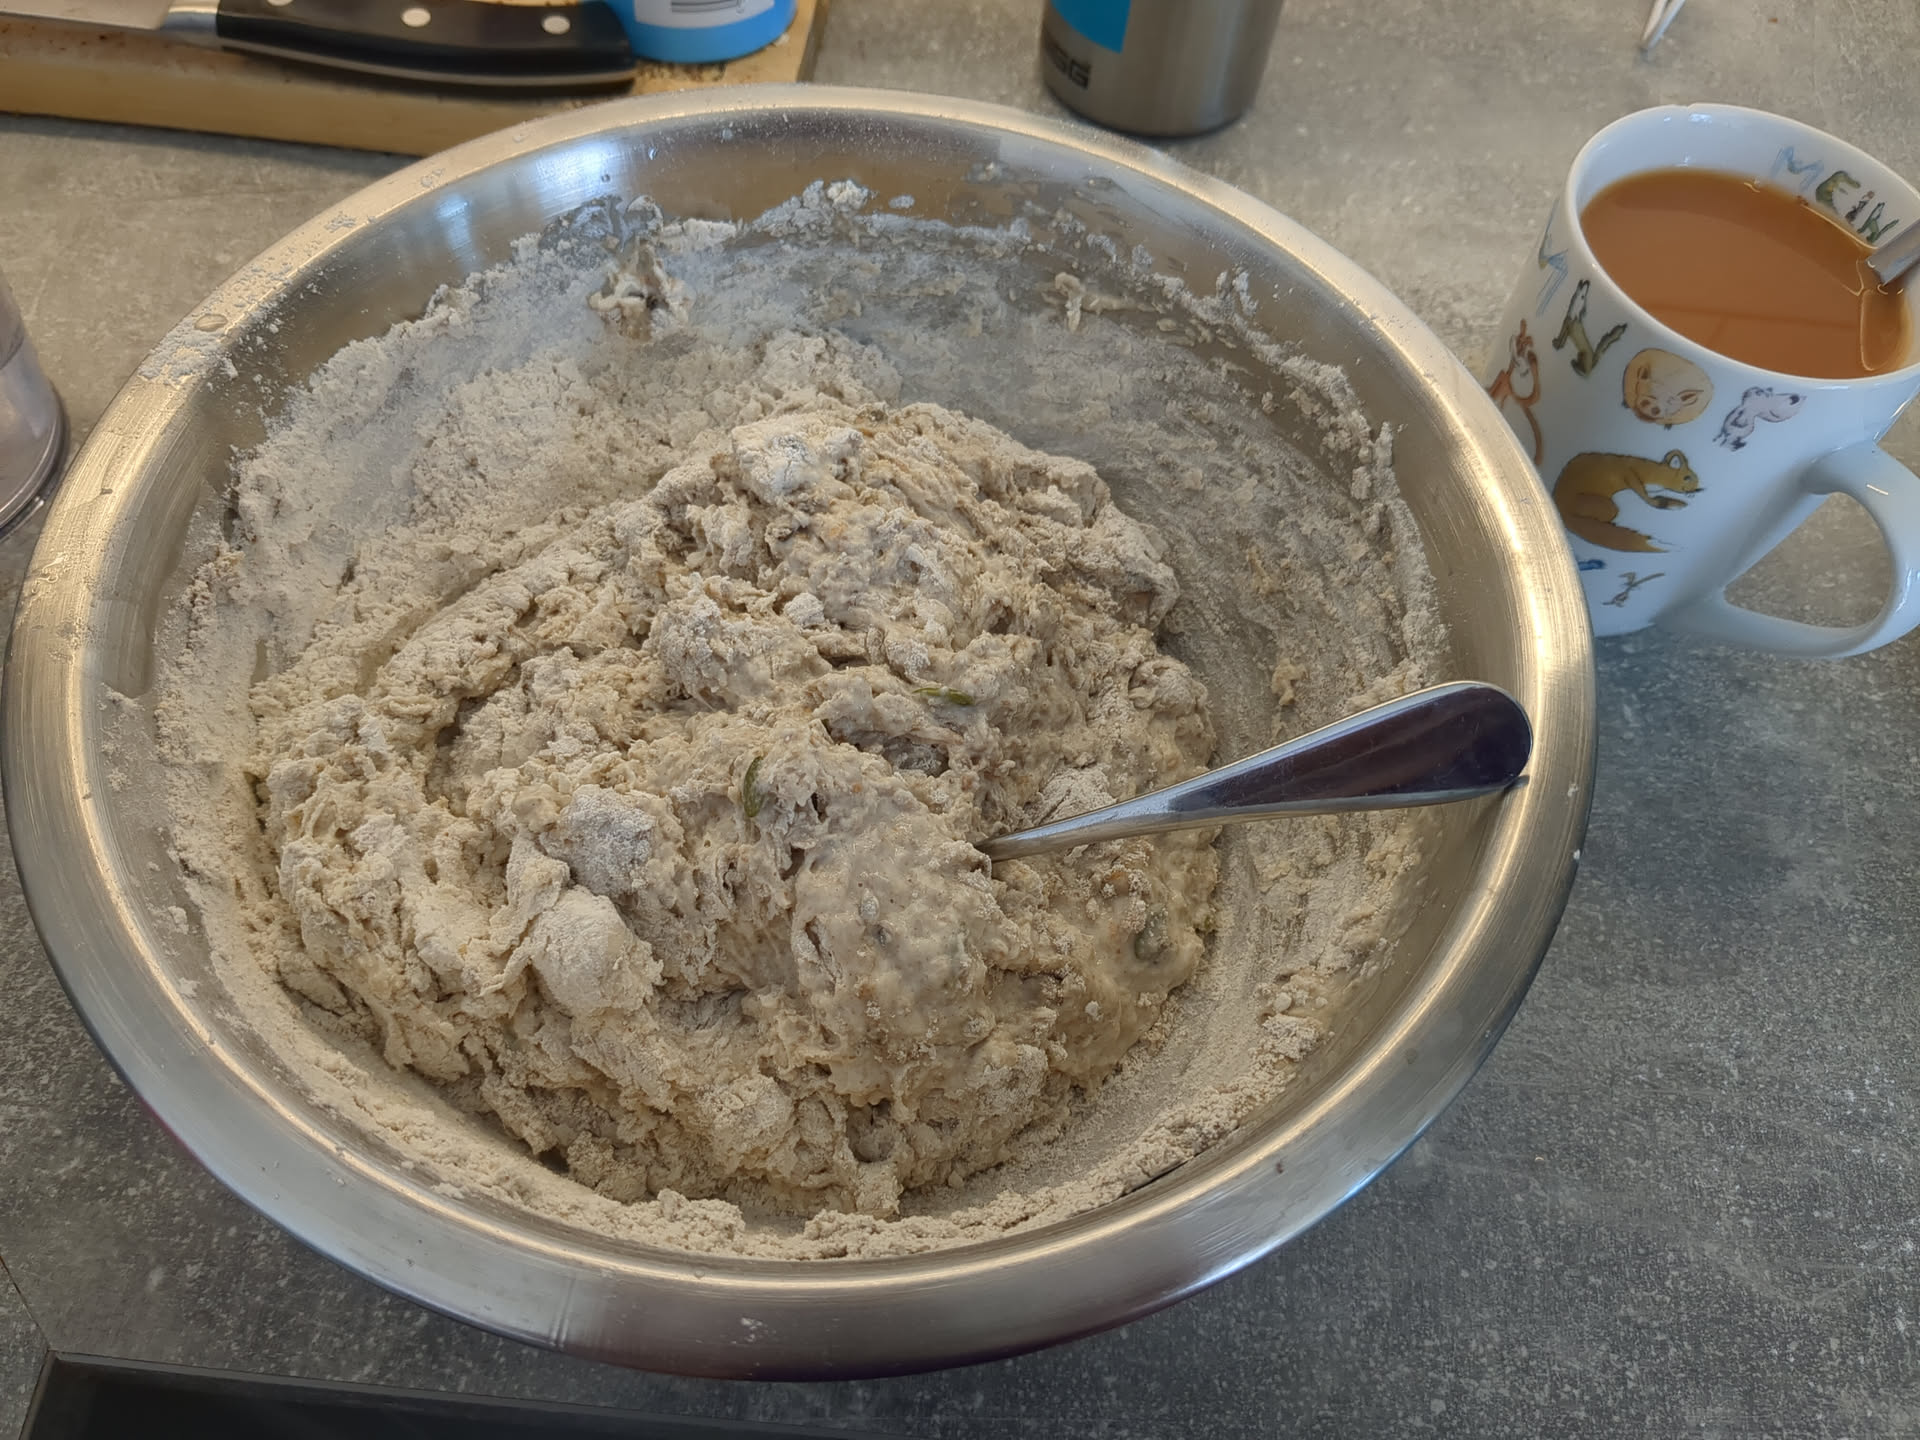
Combine all the ingredients in a bowl and mix until you get a shaggy dough. It’ll be sticky and wet—don’t worry.
Autolyse / Proof #
Let your dough rise for 4–6 hours at room temperature.
Every hour, do a set of stretch and folds. Wet your hands so the dough doesn’t stick. Once it smooths out and passes the windowpane test, stop stretching and folding—just let it rise.
Keep proofing until it passes the poke test. It’s a feel thing, but this video guide explains it well.
Basically:
- Feels firm and doesn’t bounce: underproofed
- Light, springy, slight bounce back: perfect
- Pokes leave dents: overproofed
When it’s ready, move on.
Shaping and Overnight Fermentation #
This step is all about building surface tension. There’s not much to say—pick a method that works for you. Here’s one I like. You can also watch what I do in the video below. Like with the poke test, this part gets easier with practice.
After shaping, generously dust your banneton (or tea towel-lined bowl) with rice or semolina flour. Place the dough in smooth side down. Cover with a tea towel and stick it in the fridge overnight.
Bake! #
Preheat your oven to 250°C with your Dutch oven inside.
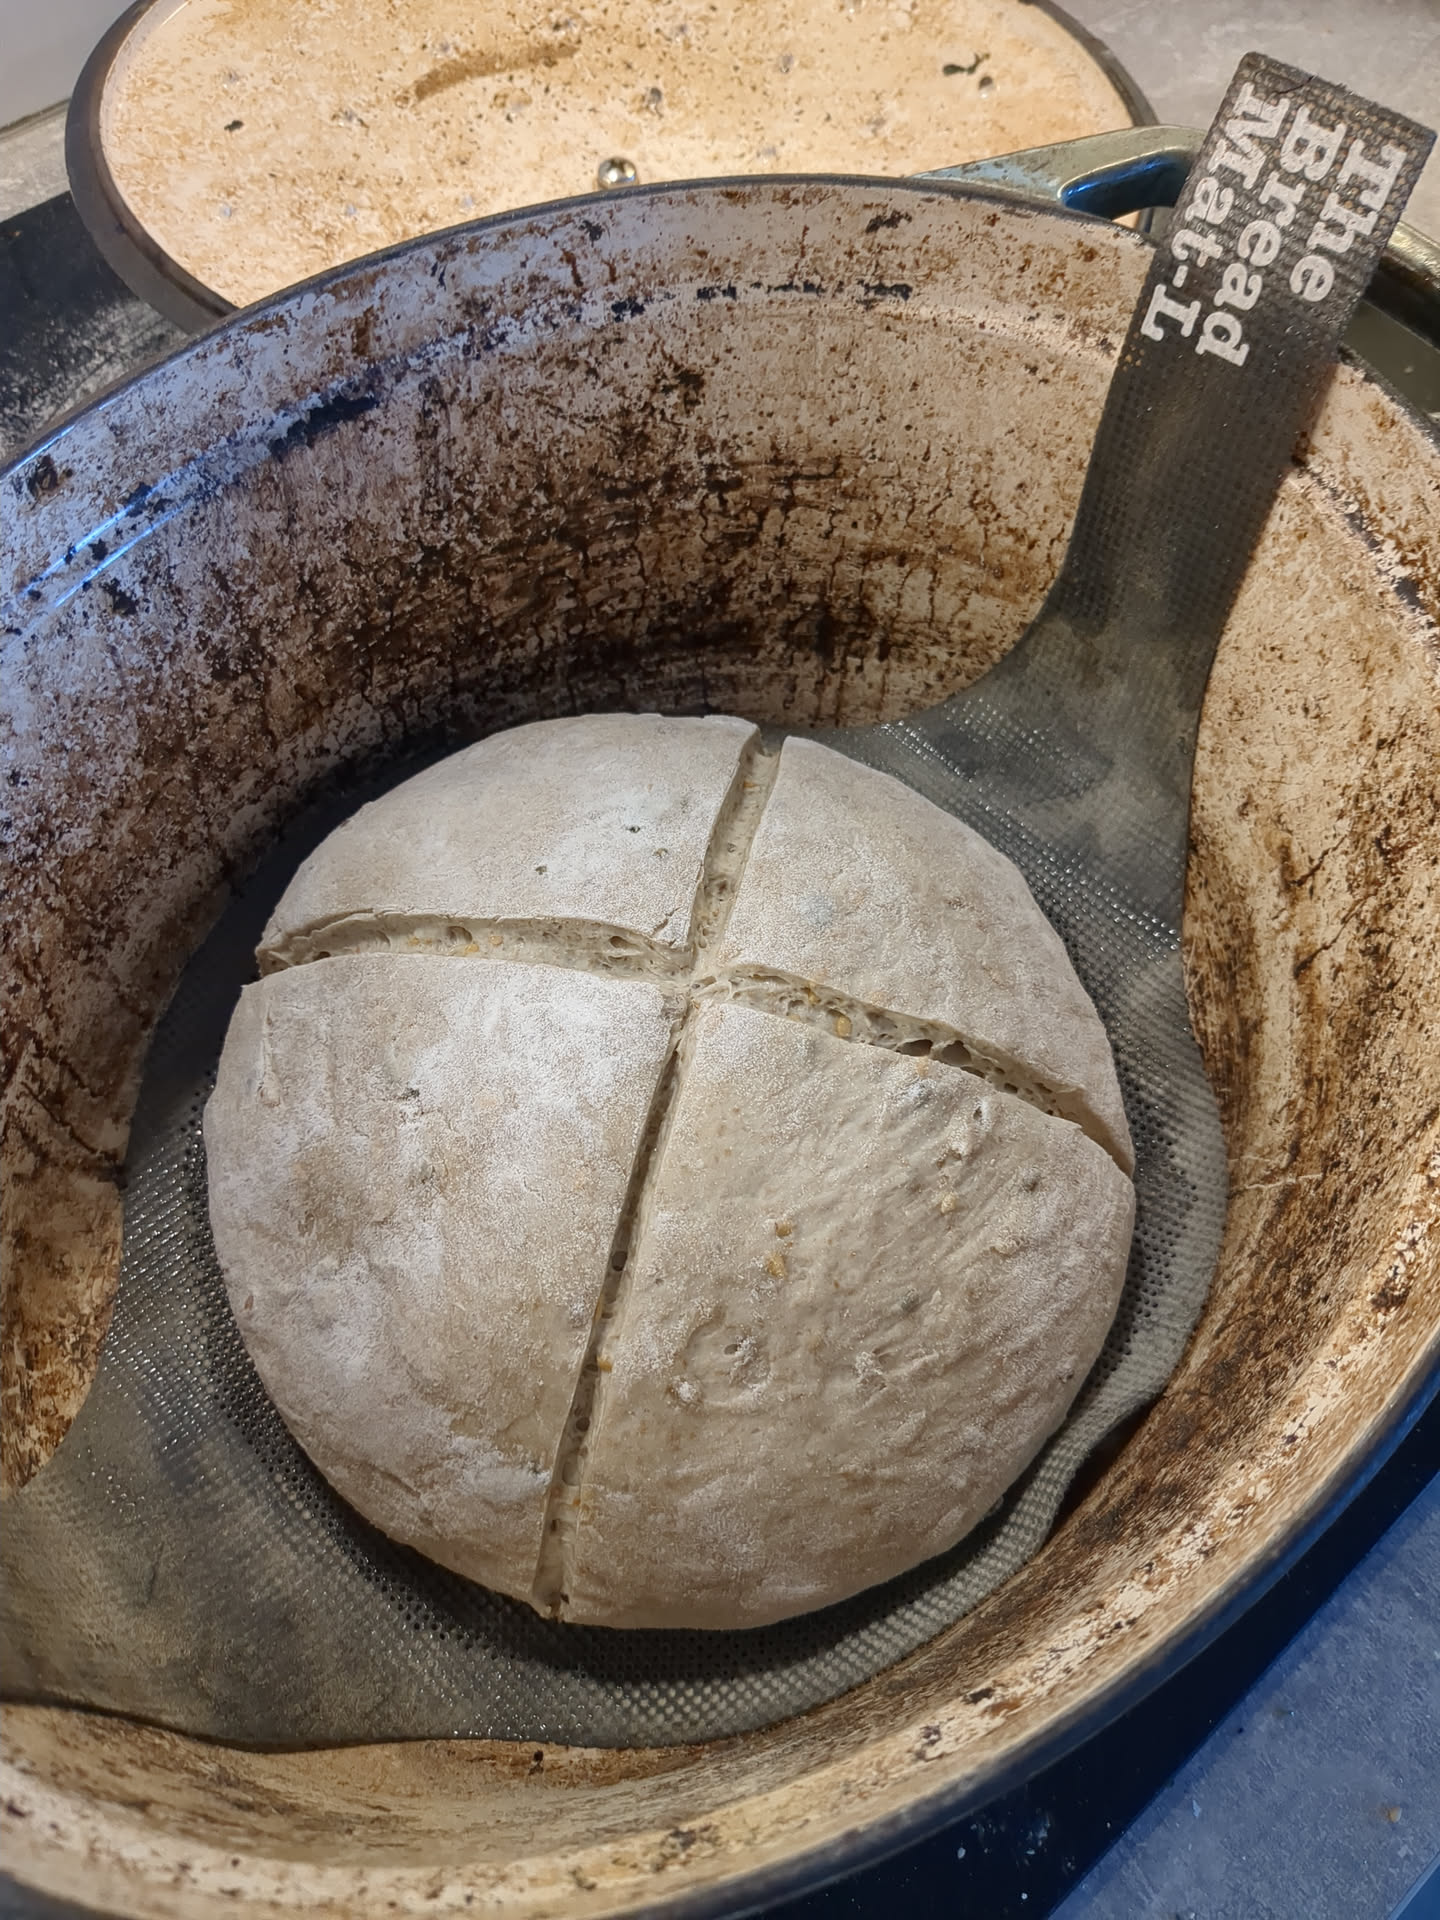
Carefully turn the dough out onto baking paper. Score it deeply from end to end in any pattern you like. If the scoring isn’t deep or wide enough, the bread might burst open unpredictably.
Bake:
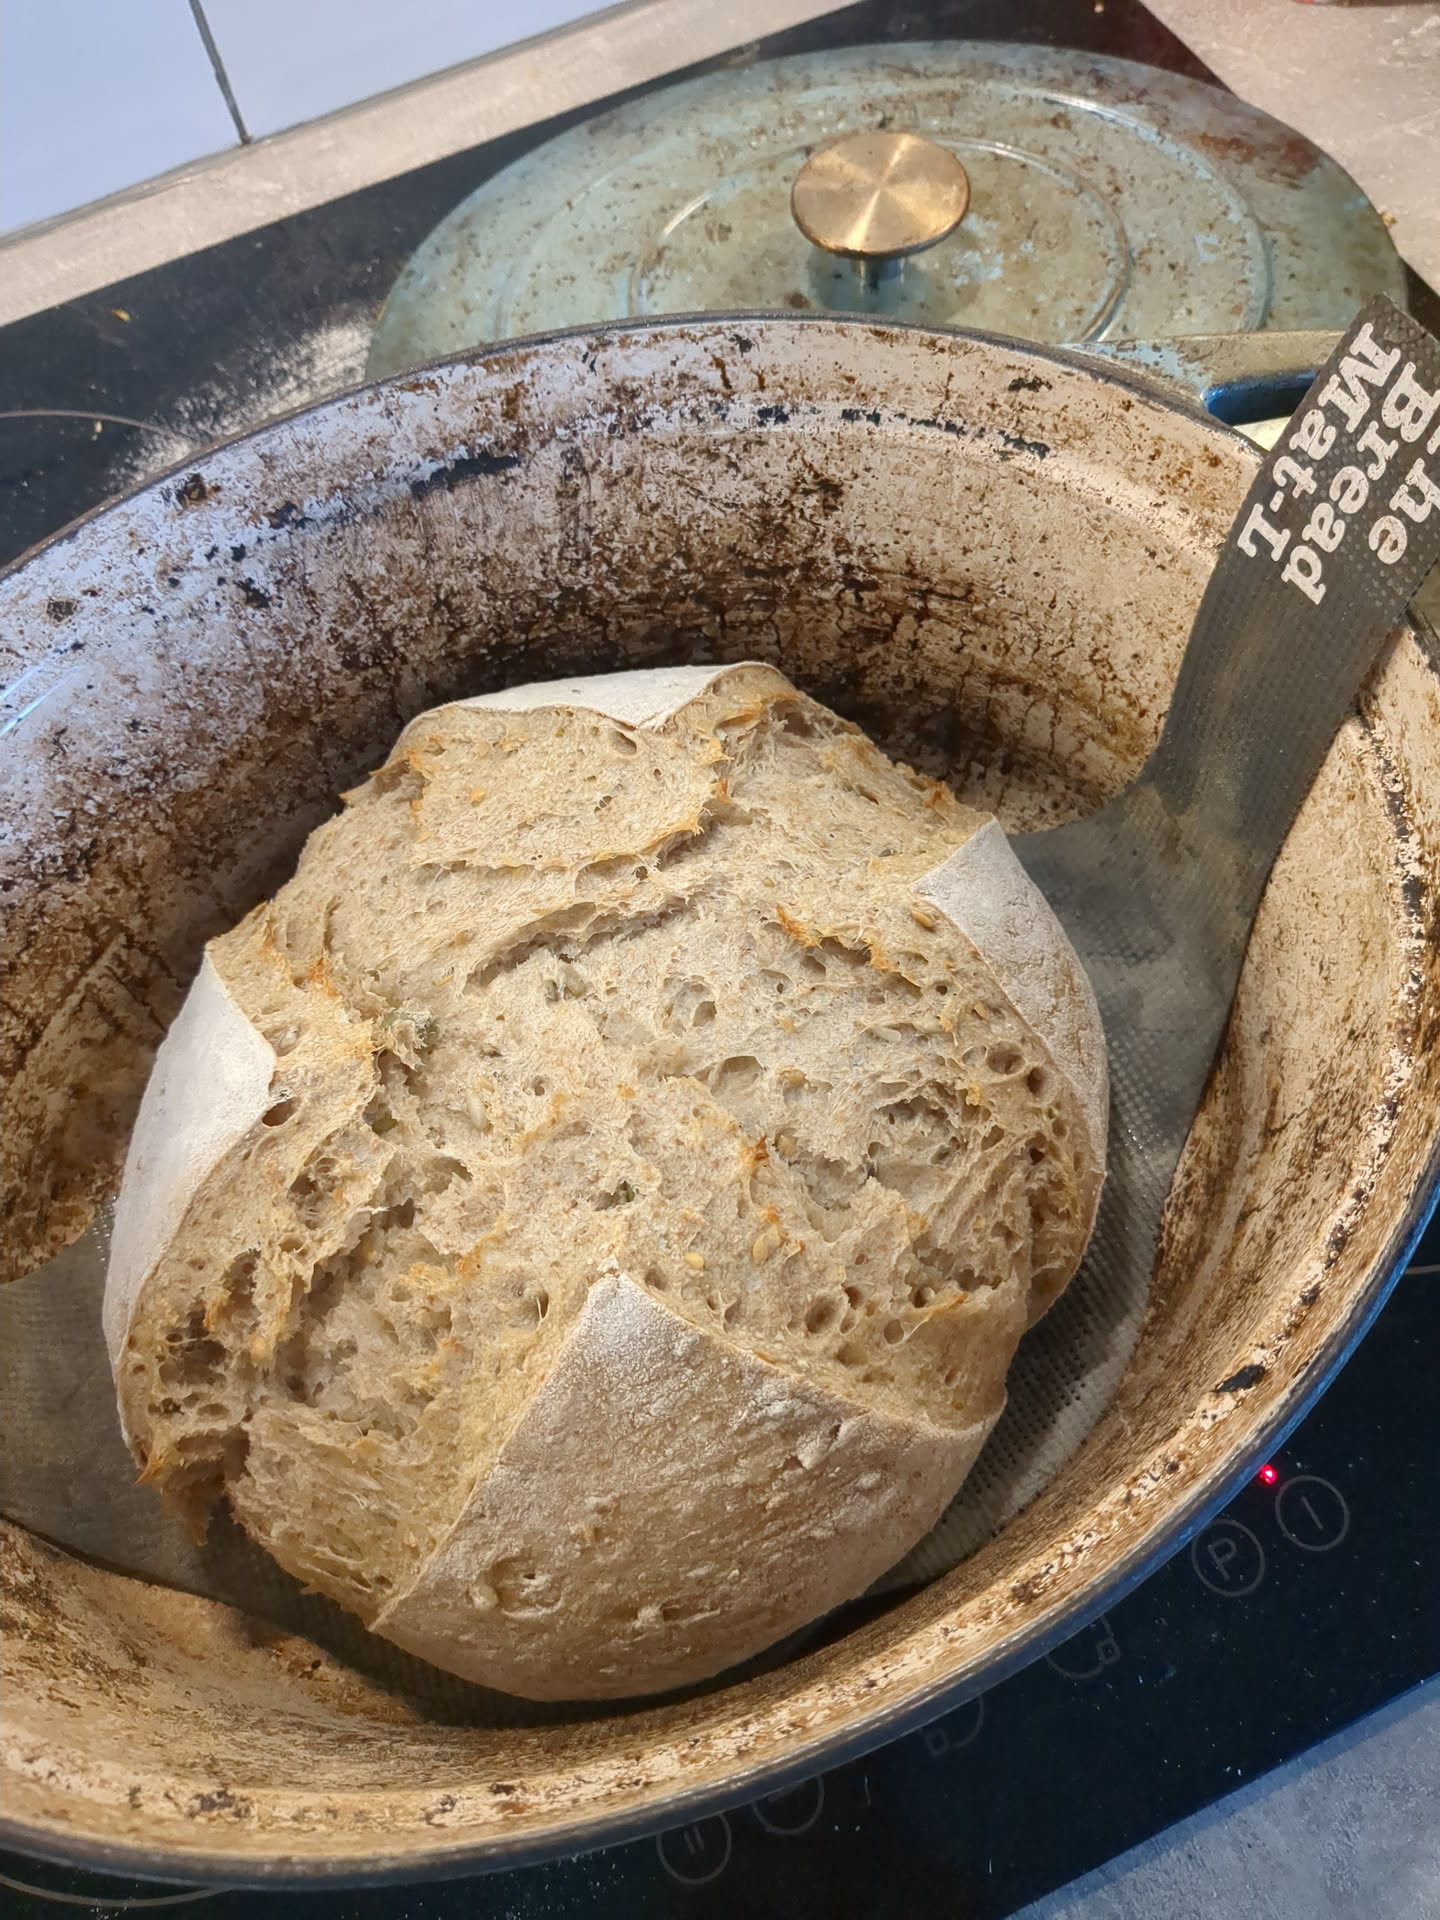
- 20 minutes at 250°C with the lid on
- Then 25 minutes at 230°C with the lid off
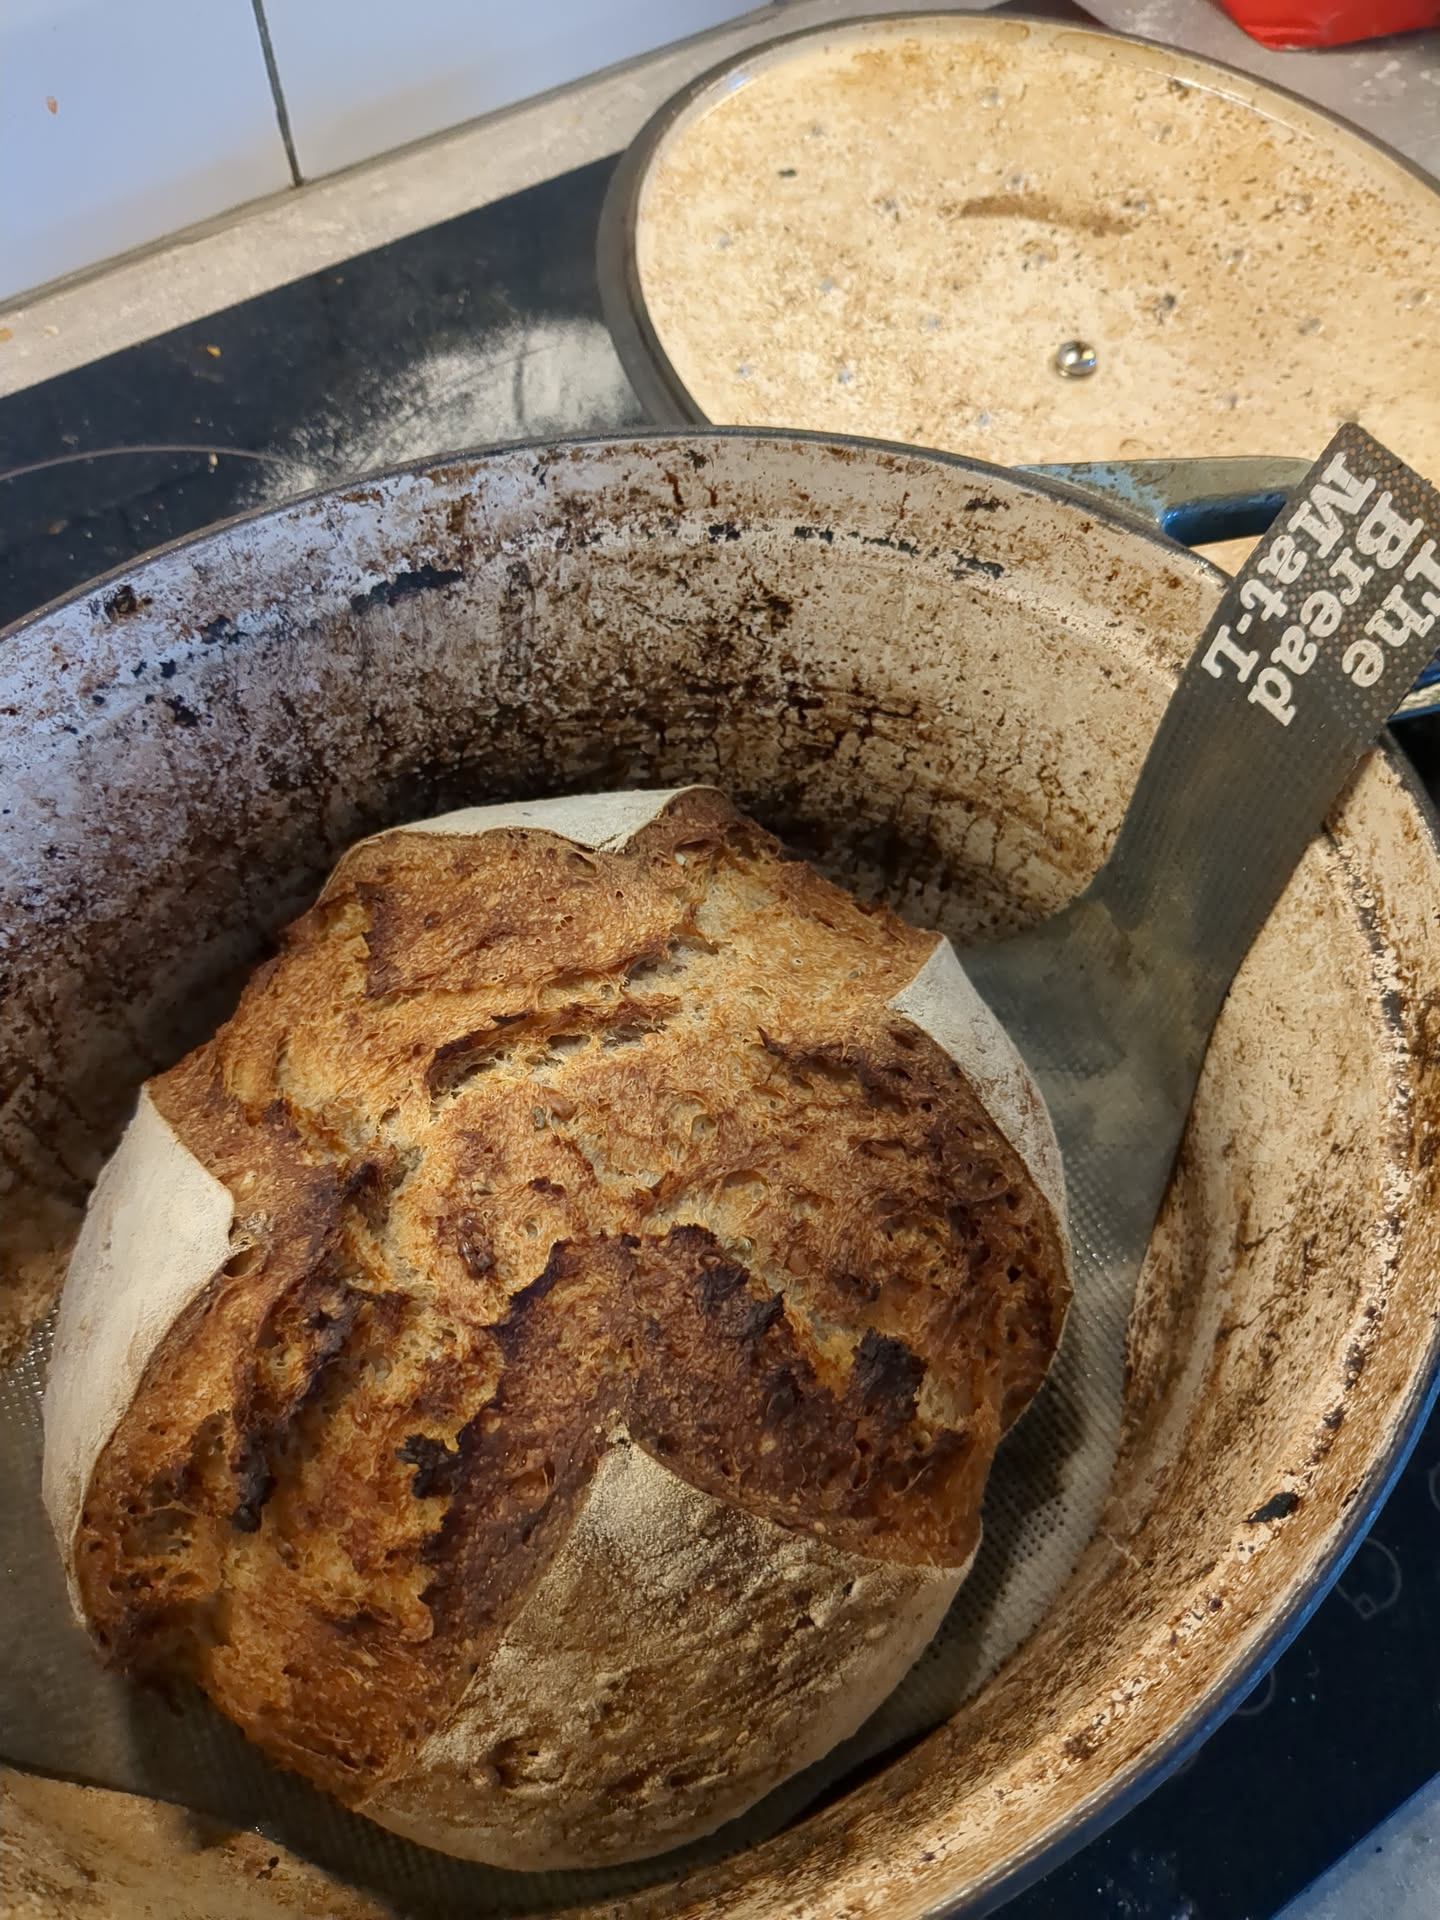
Done!